Category: Production

Mixing, mastering, and the craft of making records.

  • How to Budget for a Nairobi Studio Session Without Killing the Song

    How to Budget for a Nairobi Studio Session Without Killing the Song

    Many artists walk into a studio with pressure already sitting on their chest.

    You’ve saved some money. Maybe the producer has given you a rate. Maybe your friends are asking when the song is dropping. Maybe you’re coming from work, from school, from a church rehearsal, from a Mugithi gig, or from hustling in town the whole day. You don’t want to waste time. You also don’t want to rush and leave with a song that sounds unfinished.

    That’s the real budget problem in Nairobi music.

    It’s not just, “How much does the studio cost?” It’s, “How do I use the money I have wisely, so the song still carries feeling, clarity and replay value?”

    Let’s talk about it properly.

    Start with the song, not the studio rate

    Before asking for a price list, ask yourself what kind of song you’re making.

    A rap freestyle over a ready beat is not the same as a Kikuyu gospel song with live guitar, backing vocals and harmony ideas. A Mugithi track with that one-man guitar feel is not the same as a full band arrangement. A soft acoustic session is not the same as a heavy club record with layered ad-libs and vocal effects.

    The more moving parts your song has, the more studio time it may need.

    This doesn’t mean simple songs are cheap songs or weak songs. Some of the strongest records are simple. But simplicity must be planned. If you come in saying, “Tutaskia tukifika,” you’re asking the session to become rehearsal, writing, production, vocal coaching, recording and editing all at once.

    That’s where budgets start bleeding.

    A good studio session should serve the song. So before you book, know the basic shape:

    What is the message?
    Who is singing which part?
    Is the beat ready?
    Are the lyrics finished?
    Do you need live instruments?
    Do you need help arranging the song?
    Are you recording for release, demo, TikTok, church, radio, YouTube or a private project?

    Those answers affect cost more than many artists realise.

    Know what you’re actually paying for

    When artists search for a recording studio price list in Kenya, they often expect a simple answer. Pay this, get song. But studio work is not just pressing record.

    You may be paying for recording time, production, beat making, vocal editing, mixing, mastering, session musicians, backing vocal arrangement, file exports, revisions or even guidance on song structure.

    Let me translate that into normal language.

    Recording is capturing your voice or instrument cleanly.
    Production is shaping the sound and arrangement.
    Editing is cleaning timing, tuning issues and small mistakes.
    Mixing is balancing everything so the vocal, drums, guitar, bass and effects sit together.
    Mastering is the final polish so the song plays well across platforms and sound systems.

    If someone quotes you, ask what is included. Not in a suspicious way. Just be clear.

    A low rate that only covers recording may be fine if you already have a strong beat and you’ll mix elsewhere. But if you expect full production, vocal arrangement, mix and master from the same money, you need to say that early.

    Misunderstanding is expensive. Clarity saves everyone stress.

    Don’t spend studio time writing lyrics from scratch

    This is where many Nairobi artists lose money quietly.

    You arrive with a vibe but no finished lyrics. The first hour goes into finding lines. Then you start changing the chorus. Then your friend in the room says the second verse needs more punch. Now the engineer is waiting, the mic is on, and the clock is moving.

    Writing in the studio can work, especially for experienced artists. Some musicians create well under pressure. But if your budget is tight, don’t depend on pressure to save you.

    Write before the session. Rehearse before the session. Record a rough voice note on your phone and listen back. If you’re doing Kikuyu lyrics, check pronunciation, phrasing and meaning. If it’s gospel, make sure the message is clear and not just nice-sounding words. If it’s rap, test whether your breath can carry the verse without choking the delivery.

    A studio exposes what rehearsal hides.

    When you come prepared, we spend time improving the performance, not discovering the song from zero.

    Budget for the boring things too

    Artists like budgeting for the exciting part: the booth, the beat, the final master. But the boring things can affect the final sound.

    Transport matters. If you arrive tired, late and hungry, your voice will show it.
    Food matters. Singing on an empty stomach is not bravery.
    Sleep matters. A worn-out voice won’t give you clean emotion.
    Reference songs matter. They help the producer understand the direction faster.
    Communication matters. Sending files late can delay the whole process.

    If you’re bringing a guitarist, backing vocalist or band member, plan for them properly. Don’t assume people will wait the whole day with no structure. Nairobi traffic alone can humble even the best plan.

    Also, don’t bring a crowd unless they have a clear role. Friends can bring energy, yes. But they can also turn the control room into a baraza. Too many opinions can waste time and shake your confidence. Bring people who help the song, not people who just want to witness.

    Cheap can become expensive if you have to redo everything

    I understand budget pressure. We’re in Kenya. Artists are funding music from salaries, side hustles, chama savings, church support, gigs and sometimes pure faith. Nobody should shame you for asking about cost.

    But there’s a difference between affordable and careless.

    If the vocal is recorded badly, mixing can’t fully rescue it. If the room is noisy, the noise may stay inside the track. If the beat is distorted before recording starts, the final master won’t magically become clean. If the timing is loose everywhere, the song may feel amateur even after effects are added.

    A cheap session becomes expensive when you pay again to fix what should have been handled at the source.

    So when comparing studios, don’t only ask, “How much?” Ask:

    Will I get clean vocal recording?
    Will someone guide my performance?
    Can I hear previous work in a similar style?
    Is mixing included or separate?
    How are revisions handled?
    Will I receive the final files I need?

    Good questions protect your budget.

    Decide what must be excellent and what can wait

    Not every artist can do everything at once. That’s real.

    So prioritise.

    If your song is vocal-led, spend energy getting the vocal right. A strong vocal performance can carry a simple beat. If it’s a live Mugithi or benga-inspired track, the guitar tone and groove must feel alive. If it’s worship, the emotion and clarity of words matter deeply. If it’s gengetone, drill or hip hop, the pocket, attitude and vocal texture need attention.

    You may not need the most complex arrangement. You may not need many layers. You may not need every effect you heard on an international record.

    But you do need a clean recording, a confident performance and a mix that doesn’t fight the song.

    That’s the foundation.

    Leave space for mixing and mastering

    Many artists spend the whole budget on recording and then treat mixing like a small afterthought. That’s risky.

    The recording session gives us the raw material. Mixing shapes it. This is where the lead vocal finds its place, backing vocals stop clashing, bass stops swallowing the kick, and harsh frequencies are controlled. In simple words, mixing helps the song feel like one record instead of separate pieces playing together.

    Mastering comes after that. It prepares the final song for release. It doesn’t replace a good mix. It finishes it.

    If you already know you want to release properly, don’t budget as if recording is the end. Leave room for the finishing stage. A song that is well recorded but poorly finished can struggle to connect, especially when played next to other tracks on streaming platforms, radio, DJ sets or YouTube playlists.

    Ask for a clear plan before the session starts

    A serious session needs a plan. Not a rigid one, but a working one.

    Before recording, agree on what you’re trying to finish. Maybe it’s vocals only. Maybe it’s full production. Maybe it’s a demo to test the song. Maybe it’s a final master for release.

    That decision changes how the engineer works.

    If we know it’s a demo, we won’t waste time polishing every breath. If we know it’s the final release, we’ll listen harder for tuning, tone, emotion, arrangement and mix decisions. If live instruments are involved, we’ll plan the order properly so players don’t sit around waiting.

    The best budget is not always the biggest one. It’s the one with the least confusion.

    Spend where the listener will feel it

    Your listener doesn’t care how stressful the session was. They hear the final song.

    They hear whether your voice is clear.
    They hear whether the chorus lands.
    They hear whether the groove feels good.
    They hear whether the song sounds finished.
    They hear confidence, or the lack of it.

    So spend your money where it reaches their ears.

    Prepare well. Communicate clearly. Don’t rush the important parts. Don’t overbuild the song just to feel like you used the studio fully. Sometimes removing clutter is the move. Sometimes singing the line again with better feeling beats adding another harmony.

    A Nairobi studio session should not feel like gambling. With a clear song, honest budget and proper guidance, you can make choices that protect both your pocket and your music.

    If you’re planning a session, talk through the song first, then book the room.
  • How to Record Clean Voice-Over Audio in the Studio

    How to Record Clean Voice-Over Audio in the Studio

    A voice-over can look simple from outside.

    You walk into the booth, read the script, collect the file, and go home.

    Then you listen later and something feels wrong. The voice is clear, but not warm. The words are there, but the energy is flat. Some lines jump out, others disappear. You hear mouth clicks, breath noise, room echo, or that “inside a box” sound that makes even a good speaker sound unfinished.

    That’s the thing with voice-over. It exposes everything.

    In music, a weak word can hide behind drums, guitar, keys or backing vocals. In voice-over, there’s nowhere to hide. It’s just your voice, the room, the mic, and the message.

    Whether you’re recording a radio advert, YouTube narration, church announcement, corporate script, documentary, podcast intro, Kikuyu narration, or an IVR phone prompt, the goal is the same: clean speech that feels human and easy to understand.

    Let’s walk through how we approach it in the studio.

    Start with the message, not the microphone

    Many speakers worry first about the mic.

    “Which mic are you using?”

    That question matters, yes. But before the mic, we need to understand the job of the voice.

    Is it meant to sell? Teach? Comfort? Warn? Welcome? Tell a story? Sound like a serious institution? Sound like a neighbour talking to you?

    A bank advert and a Mugithi event promo don’t need the same delivery. A funeral tribute, a gospel concert announcement, and a YouTube documentary narration all sit in different emotional places.

    So before recording, read the script like a listener. Mark the words that carry meaning. Notice where the sentence naturally breathes. If every line is pushed with the same energy, the listener gets tired. If everything is too soft, the message loses authority.

    Good voice-over is not just reading well. It’s guiding the listener.

    The room is part of the recording

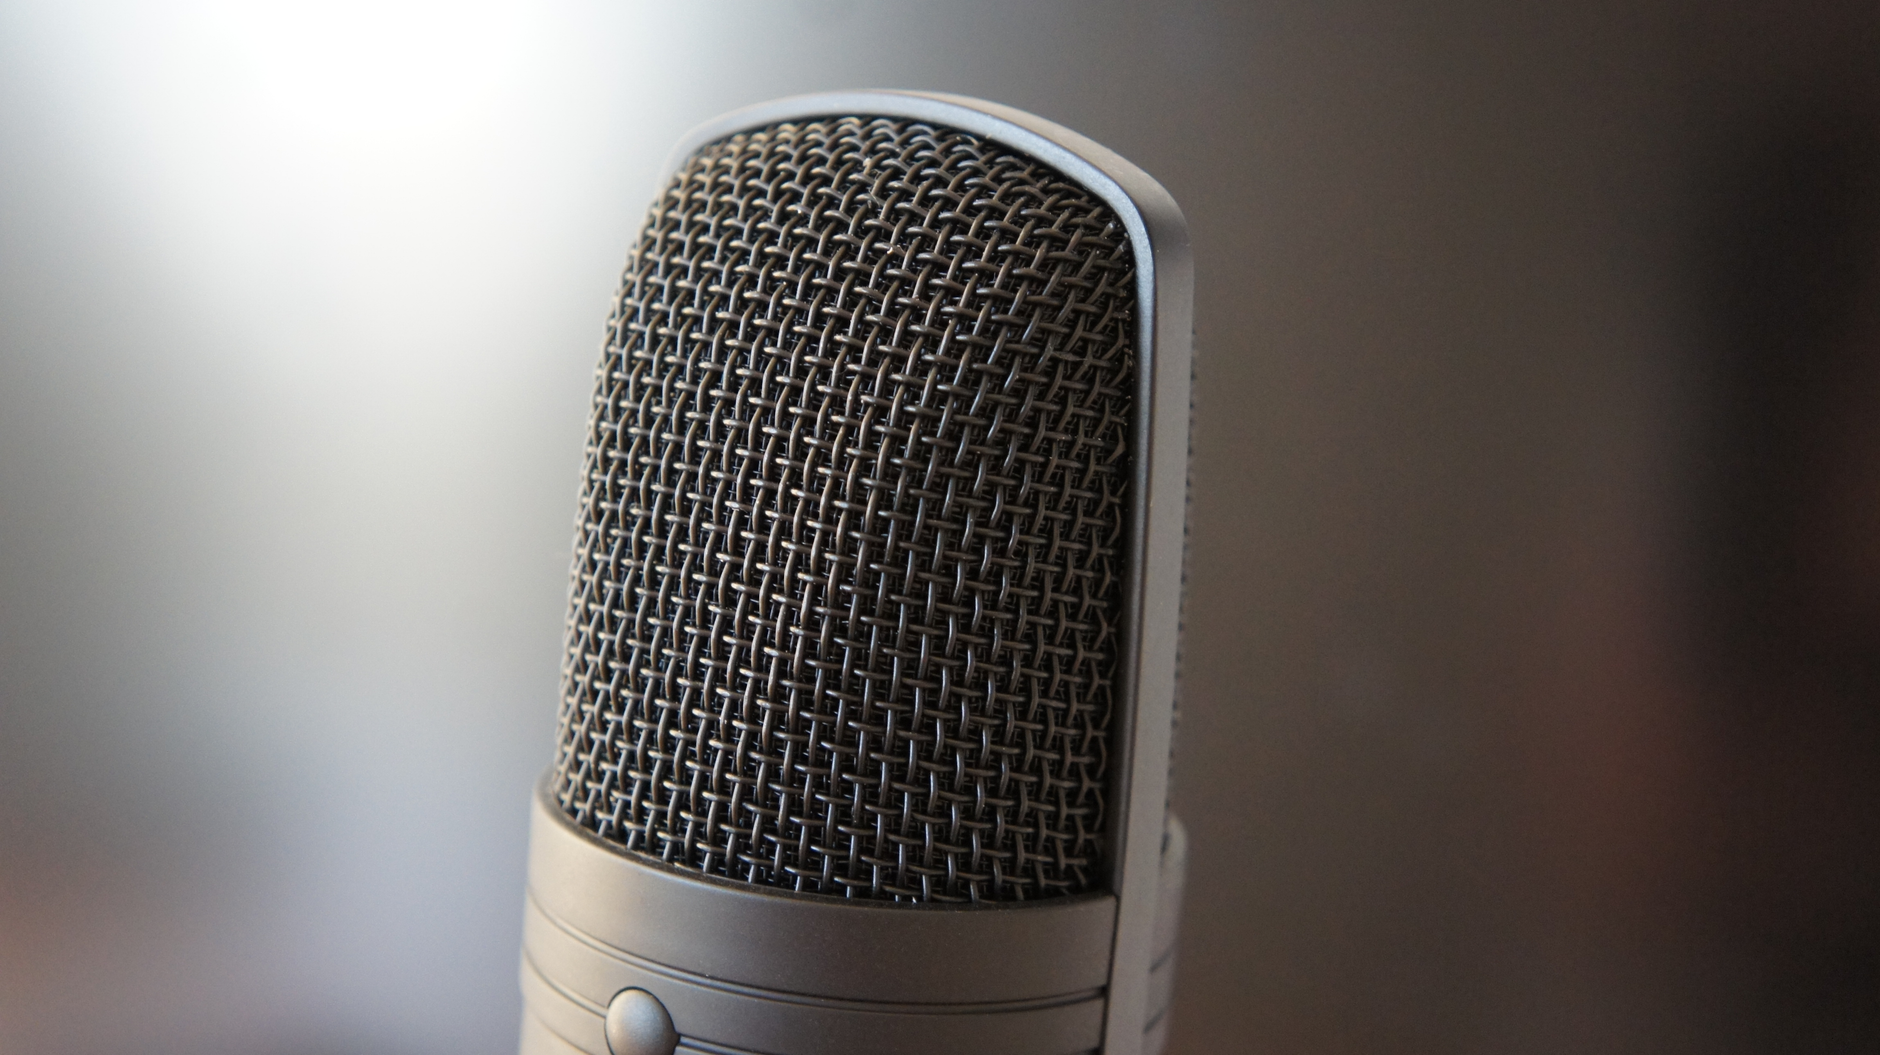
    A good studio room doesn’t just keep noise out. It controls reflections.

    Reflections are the small echoes that bounce from walls, glass, floors, tables and ceilings back into the mic. You may not notice them while speaking, but the mic hears them. That’s what gives many home recordings that hollow sound.

    For music, a bit of room tone can sometimes add life. For voice-over, too much room sound fights the words. The listener should focus on the message, not the room you recorded in.

    In the booth or vocal area, we listen for three things:

    The voice should feel close.

    The words should stay clear.

    The room should not speak louder than the person.

    That’s why mic placement and room treatment matter. You don’t want a dead, lifeless sound either. You want controlled sound. There’s a difference. A dead recording can feel squeezed. A controlled recording feels natural, but focused.

    Mic distance changes the whole tone

    Move too close to the mic and the voice can become boomy. Plosives also become a problem. Those are the hard bursts from letters like “p” and “b” that hit the mic like small wind.

    Move too far and the room comes in. The voice gets thinner, less direct, and less intimate.

    So we find a working distance that suits the voice. A deep male voice may need a different position from a bright female voice. A soft narrator may need a different approach from a loud advert voice.

    The pop filter helps, but it doesn’t fix everything. Good technique still matters.

    Instead of speaking straight into the centre of the mic like you’re blowing into it, a slight angle can help reduce harsh air blasts. You still sound present, but the mic doesn’t get attacked by every consonant.

    This is one of those small habits that saves time later. If we record badly, mixing becomes repair work. If we record well, mixing becomes polishing.

    Headphone volume affects performance

    This one surprises many people.

    If your headphones are too loud, you may start speaking too softly. If they’re too low, you may push too hard. If there’s too much of your own voice in the headphones, you may become self-conscious. If there’s too little, you may lose control.

    For voice-over, comfort matters. You need to hear yourself clearly, but not so much that you start performing for the headphones instead of the listener.

    Some speakers prefer one ear slightly open. Some want both ears covered. Some need a little playback before they settle. There’s no shame in that. A studio session is not an exam. It’s a controlled space to get the best performance.

    Record clean, don’t over-process on the way in

    There’s a temptation to make the voice sound finished while recording.

    Heavy compression. Strong EQ. Big radio tone.

    Careful.

    Compression reduces the difference between loud and soft parts. Used well, it keeps speech steady. Used badly, it makes the voice sound squeezed, noisy and tiring.

    EQ shapes tone. Used well, it clears mud and softens harshness. Used badly, it makes the voice thin, sharp or fake.

    For voice-over, we prefer to capture a clean, balanced signal first. Not too hot. Not too weak. No distortion. No unnecessary effects printed into the file.

    Once distortion is recorded, it’s very hard to remove properly. Once heavy processing is printed, you’re stuck with it. Clean gives you options.

    Editing is where professionalism shows

    A good voice-over edit should be invisible.

    We remove mistakes, false starts, long gaps, heavy mouth clicks and distracting breaths. But we don’t remove the humanity from the voice.

    That balance is important.

    If you cut every breath, the speaker can sound like a machine. If you leave every noise, the recording feels unfinished. The listener may not know why it feels rough, but they’ll feel it.

    We also check pacing. Sometimes a script is written like a poster, not like speech. It may look good on paper but feel awkward when read aloud. In the studio, we may adjust the rhythm slightly so the meaning lands better.

    For languages like Kikuyu, Sheng, Kiswahili and English, pronunciation and rhythm carry identity. Don’t flatten that just to sound “corporate”. Clean audio doesn’t mean removing your natural voice. It means presenting it clearly.

    Mixing voice-over is about clarity

    Voice-over mixing is not about making the biggest sound possible. It’s about making the words easy to follow on different speakers.

    A listener may hear your audio on a phone, in a car, through earphones, on a TV, or from a small office speaker. If the mix only sounds good in the studio, we haven’t finished the job.

    We usually deal with a few main issues.

    Low rumble must be controlled so the voice doesn’t feel cloudy.

    Boxiness must be reduced so the recording doesn’t sound trapped.

    Harsh consonants must be softened so the listener doesn’t get stabbed by “s” and “sh” sounds.

    Volume must be even enough that no word disappears.

    Noise must be managed without making the voice sound watery or damaged.

    That last one matters. Noise reduction is useful, but too much of it creates strange digital artefacts. Sometimes the better solution is to re-record a noisy line instead of trying to rescue it.

    Delivery beats fake polish

    The best equipment can’t fix a voice that doesn’t believe the script.

    If you’re recording a brand message, understand what you’re saying. If it’s a story, see the picture in your mind. If it’s an announcement, know who you’re calling. If it’s a teaching script, don’t rush like you’re escaping the room.

    A good engineer will guide you, but you also need to listen back honestly.

    Does it sound like you’re reading?

    Does it sound like you care?

    Does the important word land?

    Can someone understand it without looking at the script?

    That’s the real test.

    The final file should match the use

    A voice-over for radio, social media, YouTube, podcasting, phone systems and live event playback may need different finishing. The tone, loudness, spacing and file format should fit where the audio is going.

    Before the session ends, be clear about the final use. Don’t just say, “I need a voice-over.” Say where it will play, what mood it needs, whether music will sit under it, and whether you need separate dry voice and mixed versions.

    That saves confusion later.

    Clean voice-over work is patient work. It’s not about shouting into an expensive mic. It’s about a controlled room, good mic technique, honest delivery, careful editing and a mix that respects the listener.

    At Studio 56 Ke, we will guide you through. Call us or email us for the best services.

  • How to Record Live Drums in a Nairobi Studio: FAQ for Bands and Gospel Artists

    How to Record Live Drums in a Nairobi Studio: FAQ for Bands and Gospel Artists

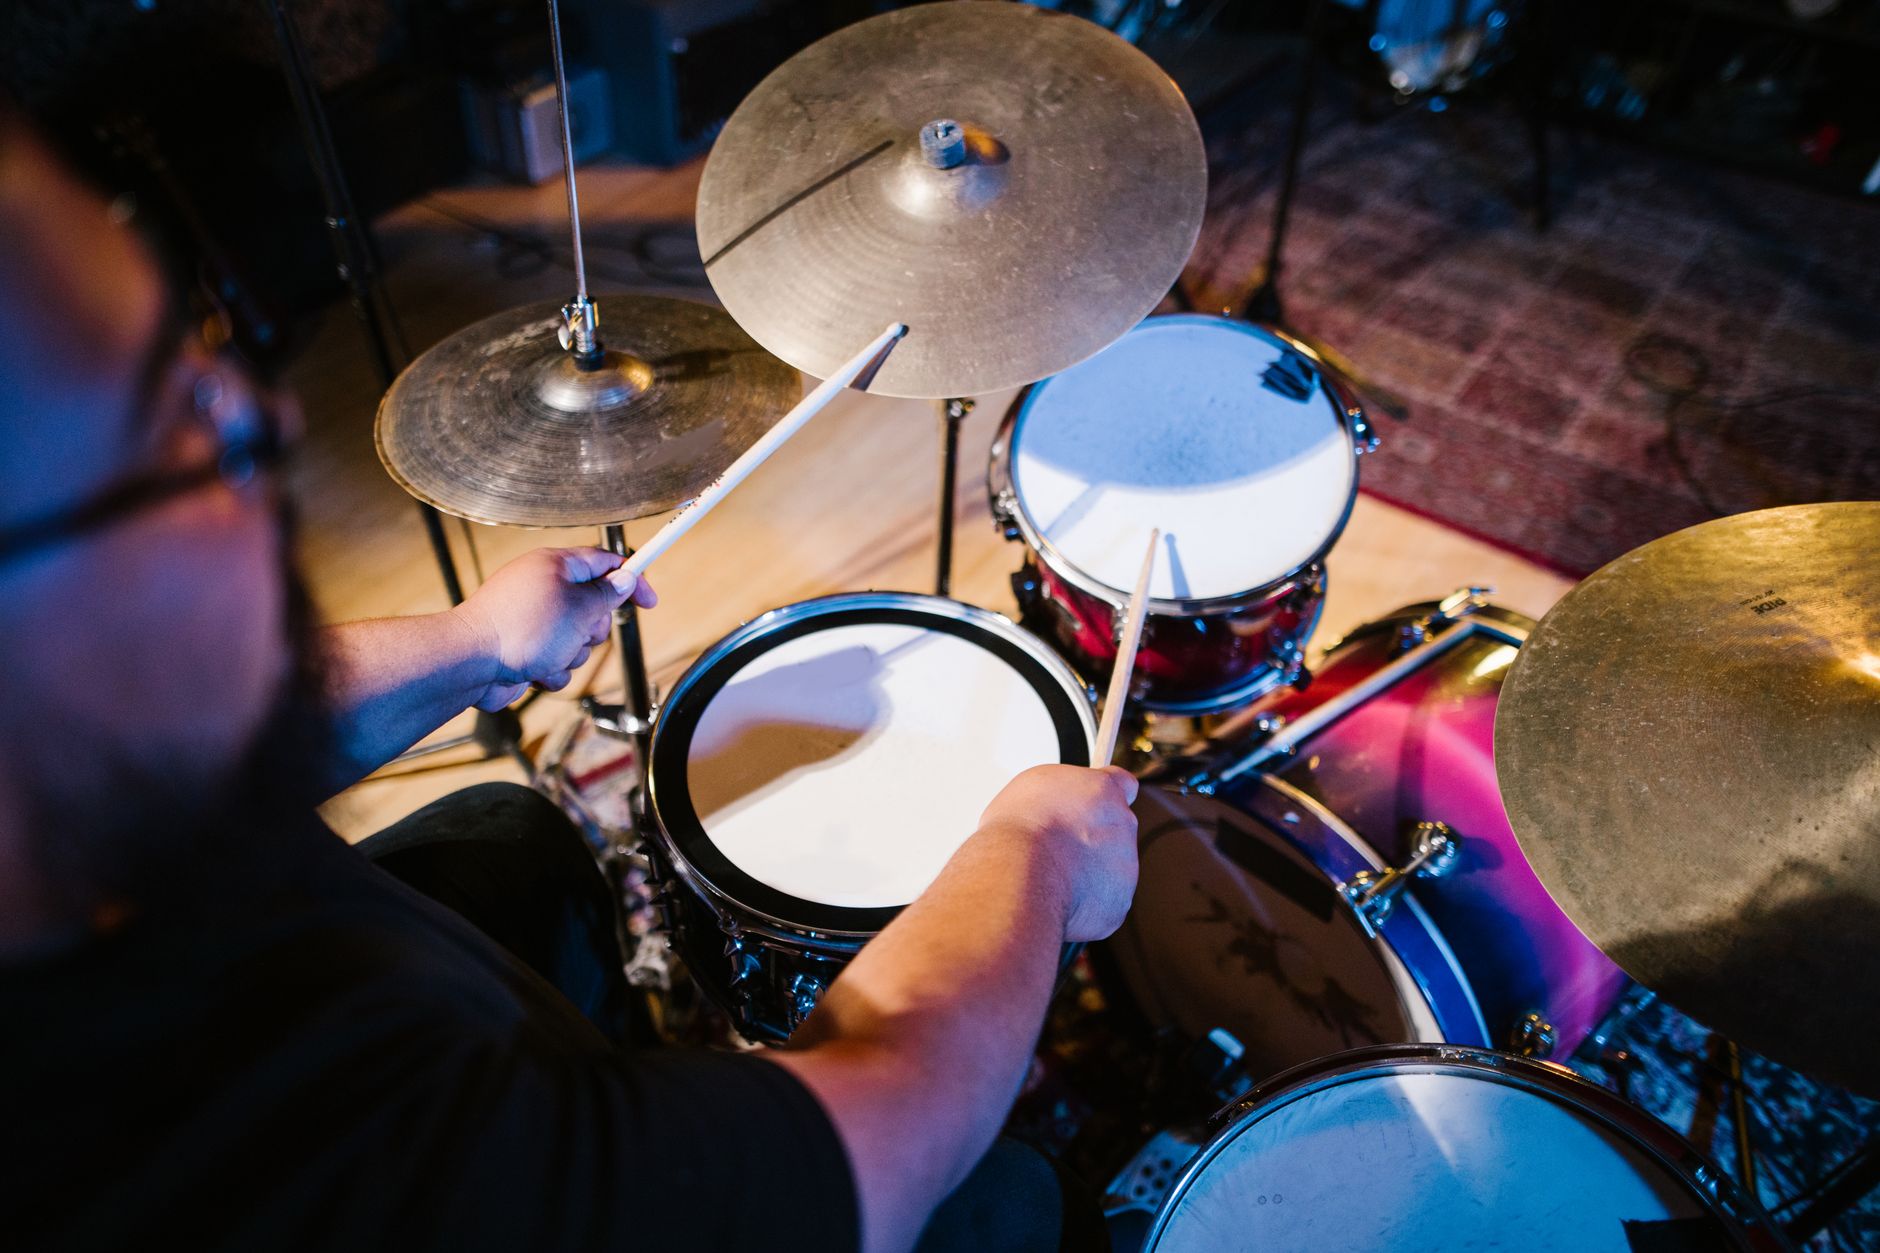
    Live drums can lift a song in a way loops don’t always manage. You feel the push. You feel the breath. In Mugithi, Kikuyu gospel, benga, worship, Afro-fusion, even rap with a live feel, drums can make the track stand up properly.

    But drums can also expose everything.

    If the kit is badly tuned, the groove is rushing, the room is too live, or the drummer hasn’t rehearsed with the song, you’ll hear it. Not small small. Clearly. A weak drum recording can make the whole mix sound rough, even when the vocals are strong.

    So let’s talk plainly. If you’re searching for a drum studio near me, or wondering whether your song really needs live drums, these are the questions I’d ask you in the control room before we press record.

    Do I really need live drums, or can I use programmed drums?

    Use live drums when the song needs human movement.

    A real drummer brings small changes in touch, timing and energy. That’s useful for worship songs, Mugithi with live guitar, benga-style grooves, band music, and songs where the chorus needs to open up naturally. The drummer can listen to the singer and respond. That matters.

    Programmed drums work well when the song needs a tight, modern, repeatable pocket. Many pop, gengetone, Afrobeat and rap tracks sit nicely with programmed drums because the groove is locked and controlled.

    The mistake is forcing live drums into a song that doesn’t need them. Live drums are not automatically better. They’re just different. If the song wants space, don’t crowd it with fills. If the song wants drive, don’t leave it flat with a weak loop.

    Ask this: does the song need a drummer’s feel, or just a rhythm foundation?

    What should the drummer prepare before coming to studio?

    The drummer should know the song like a band member, not like someone guessing in the room.

    Before the session, agree on the structure. Intro, verse, chorus, bridge, ending. Everyone should know where the energy rises and where it relaxes. If the song has stops, breaks or call-and-response moments, mark them clearly.

    For Kikuyu gospel and Mugithi, this is important because many songs breathe with the vocals. The singer may delay a line. The guitarist may answer. The drummer needs to understand that movement before recording.

    Also decide the drum direction. Is it soft and supportive? Is it church service energy? Is it danceable? Is it a clean radio version with fewer fills? Don’t wait until the drummer is seated to start debating the identity of the song.

    A studio is not the best place to discover the arrangement from scratch. It can happen, yes, but it eats time and usually weakens confidence.

    Should we record drums before or after vocals?

    Most times, drums come early in the production.

    A good drum take gives the rest of the track a spine. Bass can lock to the kick. Guitar can sit with the snare. Vocals can ride the groove. If the drums are unsure, everything recorded after them feels unsure too.

    But there are songs where a guide vocal helps the drummer. Especially in gospel, acoustic Mugithi, or emotional songs where the drummer needs to follow the singer’s phrasing. In that case, we record a simple guide vocal and guide instrument first. Not final. Just enough for the drummer to feel the song.

    The final vocal usually comes after the rhythm bed is stable. A singer performs better when the groove is already carrying them.

    What is a click track, and must we use it?

    A click track is a timing guide in the headphones. It keeps the song steady.

    Do you always need it? Not always. But you need a timing plan.

    Some traditional-feel songs can breathe naturally without sounding wrong. A live worship song may push slightly as the energy rises. Some Mugithi grooves feel better when they are not too stiff.

    Still, if the song will have added guitars, keyboards, percussion, backing vocals or edits later, a click can save you stress. It makes the session cleaner. It helps the mix. It helps the producer arrange without fighting timing issues.

    The drummer should practise with a click before the session if the song needs one. Don’t make the first click experience happen inside the booth. That’s how panic enters the headphones.

    Why does drum tuning matter so much?

    Because microphones hear more than your ears in the room.

    A drum may sound acceptable when you’re standing next to it, but under close microphones, every ring, buzz and loose head becomes bigger. The snare may choke. The toms may sing in the wrong key. The kick may sound like a carton instead of a drum.

    Tuning is not decoration. It’s part of the recording tone.

    Before recording, the kit must be checked. Kick, snare, toms, cymbals, pedals, stands. If something rattles, it will probably appear in the take. If the snare wires are too loose, the backbeat loses focus. If cymbals are too harsh, they can dominate the whole recording.

    A good engineer can shape sound, but mixing cannot fully rescue a badly tuned kit played without control.

    What does the engineer listen for during drum recording?

    We listen for tone, balance, timing and feel.

    Tone means the drums sound right at the source. The kick has weight. The snare has character. The cymbals don’t tear your ears. The toms speak clearly.

    Balance means the drummer controls their own hands and feet. If the cymbals are too loud and the snare is too soft, the microphones will capture that problem. You can’t mix discipline into a performance after the fact.

    Timing means the groove is steady enough for the song. Not robotic, just reliable.

    Feel means the drums are serving the message. A sad worship song doesn’t need busy fills everywhere. A danceable Mugithi track needs movement, but not chaos. The drummer must play the song, not audition for attention.

    Can we fix drum mistakes by editing?

    Some mistakes can be edited. Not all should be.

    If the take has good feel with a small issue, editing may help. But if the groove is unstable throughout, editing becomes surgery. The more you cut, shift and repair drums, the more you risk losing the natural flow.

    Drums have microphone bleed. That means the snare is not only in the snare mic. It is also heard in other microphones around the kit. So when you move one hit, you may affect the whole picture.

    That’s why performance matters. It’s better to record a solid, musical take than to depend on repair work later.

    What should the rest of the band do during drum recording?

    Support the drummer.

    If possible, give the drummer a guide track that feels alive. Guitar, bass, keys or vocal can help. The guide doesn’t have to be perfect, but it must be clear and in time.

    Don’t crowd the room with opinions after every take. Too many voices can confuse the drummer. Choose who gives direction. Usually the producer, band leader or main artist speaks, then the drummer adjusts.

    Also, don’t change the arrangement every few minutes. If the drummer keeps learning new turns during recording, the performance becomes careful instead of confident.

    How do we keep live drums from making the mix muddy?

    Start with arrangement.

    Mud often comes when every instrument is fighting in the same space. Kick, bass guitar, low keyboard, rhythm guitar and deep vocals can all pile up. Live drums make that more obvious.

    The drummer should leave room for the bass. The bass should lock with the kick, not compete with it. Guitars should support the groove instead of strumming heavily all the way. In Mugithi and benga-influenced music, the guitar patterns are important, so the drums must create space for that movement.

    In mixing, we use EQ, compression and panning to shape the drum sound. Plainly, EQ removes or boosts certain tones, compression controls loud peaks, and panning spreads sounds left and right. But the cleanest mix begins with players listening to each other.

    What is the biggest mistake artists make with live drums?

    They treat drums as an add-on instead of a foundation.

    They finish a song with programmed drums, then decide late that live drums will make it “bigger”. Sometimes it works. Often, the live drummer is forced to fit into a track that wasn’t built for them.

    If you want live drums, plan for them early. Leave space. Think about the groove. Let the drummer influence the energy. That’s how you get a track that feels played, not patched together.

    Live drums are not about noise. They’re about movement, discipline and feel.

    If you’re planning a drum recording session, come with the song structure ready and we’ll help you shape the sound from there.

  • How Nairobi Singers Build Better Vocal Takes in the Studio

    How Nairobi Singers Build Better Vocal Takes in the Studio

    How Nairobi Singers Build Better Vocal Takes in the Studio

    A strong vocal recording doesn’t happen by accident.

    Most singers arrive with a melody, a phone demo, a beat, or a hook they’ve been carrying around for a while. The idea may already feel good in the bedroom, in the car, or during a late-night writing session. Then the studio changes the conversation.

    The microphone hears pitch, timing, breath, diction, emotion, confidence, and whether the song actually supports the voice.

    That exposure isn’t a problem. It’s part of the work.

    This guide looks at how singers can build better vocal takes in a Nairobi recording studio by treating the session as a performance, not just a place to “put vocals on a beat.”

    Start by turning the idea into a song map

    Many songs begin as voice notes.

    The singer has a chorus. Maybe a verse. The melody feels right, but the structure is still loose. The words may change slightly every time. The beat has a mood, but nobody has decided where the energy should rise, where the hook should breathe, or where the ad-libs should enter.

    Before recording, it helps to create a simple map of the song:

    – Where does the intro end?
    – Where does the lead vocal enter?
    – Is the hook sung the same way each time?
    – Which words must be understood clearly?
    – Where should the singer hold back?
    – Where should the vocal open up?

    This step can improve a session quickly. Not because the singer’s voice suddenly changes, but because the song becomes clearer.

    A clear song gives the singer better decisions to make. Instead of guessing through the take, they know what each section is supposed to do.

    For artists used to writing by free-styling melodies over beats, this matters. The vibe may already be strong, but the studio needs shape.

    Don’t make every line the biggest moment

    Many singers try to prove the song by pushing too hard.

    You hear it in the body before you hear it in the take. The shoulders rise. The neck tightens. The singer attacks every line as if every part of the song needs maximum energy.

    That can work for a short section. Across a full song, it becomes tiring.

    A better vocal performance has levels.

    Some lines need closeness. Some need air. Some need attitude. Some need softness. If every line is delivered at full force, the chorus has nowhere to go.

    A useful studio approach is to record with energy in mind:

    – Calm verse delivery
    – More open pre-hook delivery
    – Strong hook delivery
    – Softer doubles where needed
    – Controlled ad-libs after the main vocal is secure

    This gives the song movement. The singer stops fighting the beat and starts riding it.

    Soft doesn’t mean weak. Controlled doesn’t mean boring. Sometimes the line that feels most honest is the one sung with less pressure.

    Make pronunciation part of the performance

    In Kenyan music, pronunciation isn’t only about sounding “proper.” It’s about identity.

    A song may move between English, Swahili, Sheng, and a mother tongue. That mix can sound natural when the singer is relaxed, but it can become messy in the studio if consonants disappear or phrases are rushed.

    The goal is not to remove personality. The goal is to help the message land.

    A few practical checks help during recording:

    – Are the hook lyrics clear without reading them?
    – Are the emotional words being rushed?
    – Does the singer pronounce repeated phrases consistently?
    – Do language switches sound intentional?
    – Is the singer performing the lyric, or just copying the demo?

    Sometimes the best fix isn’t editing. It’s asking the artist to say the line like they mean it before singing it again.

    Once the intention is clear in speech, the sung take often improves.

    Treat breath as part of the take

    Many artists think breaths are mistakes.

    They’re not always mistakes. Breath can make a vocal feel human. It can show tension before a line, relief after a phrase, or urgency going into a hook.

    The problem is uncontrolled breath.

    If the singer runs out of air before the important word, the line loses power. If every breath is loud, the vocal can feel distracting. If breaths are removed carelessly, the take can sound unnatural.

    A good session pays attention to breathing before editing starts.

    The singer should know where to breathe, where to hold back, and where to leave space. This is especially useful for emotional songs, worship vocals, acoustic records, Afro-pop hooks, and rap-sung melodies where timing is tight.

    A simple habit helps: mark breath points in the lyrics before recording.

    It keeps the vocal relaxed and reduces the need to fix problems later.

    Use doubles to support the lead

    A lot of singers ask for doubles because they want the vocal to sound full.

    Doubles can help. But if the lead vocal is weak, doubles can also make the problem bigger. You end up with more voice, not more emotion.

    The lead vocal must carry the song first.

    After that, doubles can be used carefully:

    – Under the hook for weight
    – On selected phrases for emphasis
    – In the final chorus for lift
    – On call-and-response sections
    – Behind key emotional lines

    The mistake is doubling everything. When every line is stacked, nothing feels special. The listener doesn’t know where to focus.

    A better approach is to record a strong lead, then use doubles like seasoning. You feel the lift, but you still believe the main performance.

    Give ad-libs a job

    Ad-libs are not random decorations.

    In Nairobi sessions, artists often bring strong ad-lib instincts from live performance, church, freestyle culture, or listening to Afro-fusion and R&B records. That instinct is useful, but the studio needs control.

    Good ad-libs answer the main vocal. They don’t step on it.

    Before recording ad-libs, listen to the lead vocal and identify the empty spaces. Then decide the role of each ad-lib:

    – Is it adding excitement?
    – Is it answering a line?
    – Is it introducing the hook?
    – Is it creating atmosphere?
    – Is it repeating the song’s key phrase?

    If an ad-lib doesn’t help the listener feel the song more clearly, mute it.

    Good records often sound confident because unnecessary parts were removed.

    Use playback as information, not judgment

    Hearing yourself in the studio can feel uncomfortable.

    The voice sounds more exposed than it did on the phone. Small pitch issues stand out. Timing feels different. The microphone catches details the artist didn’t notice while singing.

    That moment matters.

    A useful session doesn’t shame the artist. It uses playback as information. The question is simple: what should the next take improve?

    Maybe the next take needs cleaner timing. Maybe the emotion was right, but the last word fell flat. Maybe the pronunciation was strong, but the hook needs more lift. Maybe the verse should be performed with less pressure.

    When the artist knows exactly what to fix, confidence returns. The next take becomes focused.

    Keep the singer connected to the song

    A producer or engineer can guide the session, but the singer must stay connected to the meaning of the song.

    If every decision comes from the control room, the artist may perform correctly but lose ownership. The take can become neat and empty.

    A better approach is conversation.

    Ask:

    – What is the song really saying?
    – Who are you singing to?
    – Which line matters most?
    – Should this part feel private or public?
    – Are you telling a story, pleading, celebrating, or warning?

    These questions change the performance. The singer stops chasing a perfect vocal and starts delivering a believable one.

    That’s usually where the record improves.

    ##Prepare before the session

    The singers who make the best progress usually arrive prepared.

    Not perfect. Prepared.

    Bring:

    – Finished lyrics, even if a few lines may change
    – A clear demo or voice note
    – The correct beat or instrumental
    – The song key if you know it
    – Reference songs for mood, not for copying
    – Water and enough rest
    – An open mind for retakes

    Also rehearse away from the studio. If you only discover the hard parts when the microphone is on, the session becomes slower and more stressful.

    The studio is not where you learn the whole song. It’s where you capture the best version of it.

    Better vocals come from intention

    A good vocal session is not only about hitting notes.

    It’s about breath, phrasing, diction, emotion, timing, doubles, ad-libs, and the confidence to listen back and adjust.

    That’s how singers build a recording voice. Not by copying another artist, and not by relying on studio tricks. They learn how to perform their own song with intention.

    If you’re planning a vocal session at Studio 56, come prepared to perform, listen, adjust, and perform again.

  • Mixing vs Mastering: What’s the Difference?

    Mixing vs Mastering: What’s the Difference?

    Most artists we record at Studio 56 KE have either never heard of the difference between mixing and mastering, or have heard about it and mix it up (no pun intended). That’s fine. You don’t need to know the theory to make good music. But understanding the difference helps you ask the right questions, set the right budget, and know whether your song is actually done.

    Here’s what each one is, plainly, with examples.

    Mixing is shaping one song from the inside

    Imagine your song has twenty tracks: vocals, hi hats, kick, snare, bass, pads, backing vocals, ad libs, a sample on the bridge, and so on. Each of those tracks, on its own, sounds like a raw recording. Together, they’re a pile.

    Mixing is the process of turning that pile into a song. The mix engineer:

    • Adjusts the volume of each track so the vocal sits above the beat, the bass sits under everything, and nothing fights for space.
    • Uses EQ to cut frequencies that muddy things up (think the boomy low mids that make a vocal sound like it’s behind a curtain).
    • Adds compression to even out performance, so the quiet parts of your vocal don’t get lost and the loud parts don’t explode.
    • Pans things left and right so the song has width.
    • Adds reverb, delay, saturation, whatever the song calls for.

    At the end of mixing, you have one stereo file: left channel, right channel, full song, balanced. It sounds like a song now, not a pile of tracks.

    Mixing is about each song, on its own terms.

    Mastering is polishing the final file for release

    Once a song is mixed, mastering happens. The mastering engineer (often a different person from the mix engineer in serious releases) takes that stereo file and does three main things:

    1. Makes it as loud and present as streaming platforms expect, without distorting or squashing the dynamics.
    2. Makes it sit well next to other songs. So if it’s an EP, track 3 doesn’t sound quieter or muddier than track 2.
    3. Outputs it in the formats the release needs (WAV 16 bit 44.1 kHz for Spotify and Apple Music, MP3 for some services, master versions for vinyl or CD).

    You might hear about “LUFS” numbers. That’s loudness measurement. Spotify plays songs at around minus 14 LUFS. If your song is minus 20, it’ll sound quieter than the next track in a playlist. If it’s minus 8, Spotify turns it down automatically, and your punch disappears. Mastering targets the right range.

    Mastering is about how your song sits in the world.

    The short version

    Mixing: one song, balance from inside.

    Mastering: the final file, how it sounds against everyone else’s music.

    You mix first. You master after. You don’t master without mixing. You shouldn’t try to mix during mastering. They’re separate jobs because they require different ears, different rooms, different goals.

    Do you need both? Yes.

    We’ve had artists ask if they can skip mastering because “the mix sounds fine on my headphones.” Then they release it to Spotify and wonder why it sounds thin and quiet compared to other tracks in the queue.

    A mastered song holds up next to any other song in a playlist. An unmastered song sounds like a demo, even if the mix is great.

    Some studios do only mixing. Others only master. A few do both in-house. Having both handled by the same team gives you consistency across the whole chain (same ears, same room, same reference standards) and typically faster turnaround, since there’s no hand-off delay between a mixing engineer and a mastering engineer at different facilities.

    If the budget is tight, many studios will bundle a basic master with the mix so the final file is streaming-ready: right loudness target, consistent across your tracks, exported in the formats Spotify and Apple Music expect. That’s enough for a first single or EP. For artists chasing radio or club rotation, a dedicated mastering pass on top is worth paying extra for.

    Thinking about Studio 56? We handle both mixing and mastering in-house, working in Cubase and Adobe Audition. One team through the whole chain means faster turnaround and one invoice instead of two. The bundled basic master is part of our standard package; dedicated mastering is available on top for artists chasing radio or club play.

    Common mistakes to avoid

    Bouncing the mix at max loudness hoping it’s “mastered.” It’s not. That just clips. You’re sending a loud, distorted file to the next engineer who now has to undo your damage.

    Asking for “just master it” when the mix isn’t done. A great master can’t fix a bad mix. Garbage in, polished garbage out.

    Mastering at home on laptop speakers. Your laptop can’t tell you what your sub bass is doing. Monitor accuracy matters. Rent a mastering session if you can’t afford to own the gear.

    One last thing

    The cleanest workflow for a single in 2026: record, mix, master, then distribute. If you’re planning the whole chain, our booking page covers the first three, and the next post in this series walks you through the last.

    💬 Questions? Chat with us on WhatsApp.

    Got a song idea, want to check availability, or just want the short version of this article? Drop us a message. Replies usually inside the hour during working hours.

    Chat with Studio 56 →
AVAILABLE